Soldering is one of those skills that looks deceptively simple until you actually try to do it. One hand holds the component, the other holds the iron, the third—well, that’s usually the problem. Wires slip, parts drift, solder won’t flow where you need it, and suddenly your “quick fix” turns into a frustrating tangle of heat, rework, and doubt.
If you’ve ever wished you could clone yourself for just a few minutes, you’re going to love what a modern magnetic “third hand” tool can do—especially the ones that promise around **3X precision**. These aren’t magic. They’re smart engineering: stable holding, better positioning, and hands-free control that makes fine electronics work feel manageable again. And once you’ve used one, you’ll wonder how you ever soldered without it.
Let’s talk about why magnetic helping hands are such a game-changer, what “3X precision” really means in practice, and how to use your new tool to turn complex electronics projects into something you can actually enjoy.
---
## Why Traditional Soldering Feels Hard (Even When You’re Skilled)
Most soldering failures don’t come from lack of knowledge. They come from timing, alignment, and control.
### 1) Components don’t stay where you need them
When you’re soldering small parts—like resistors on perfboard, diode leads, or tiny headers—your component needs to remain perfectly positioned while you:
- heat the joint,
- apply solder at the correct spot,
- and then let the joint cool without disturbance.
Even a slight shift while the solder is molten can cause:
- cold joints,
- misalignment,
- solder bridges,
- or mechanical weakness that fails later.
### 2) You’re juggling too many tasks at once
A typical soldering moment requires simultaneous actions:
- hold wires steady,
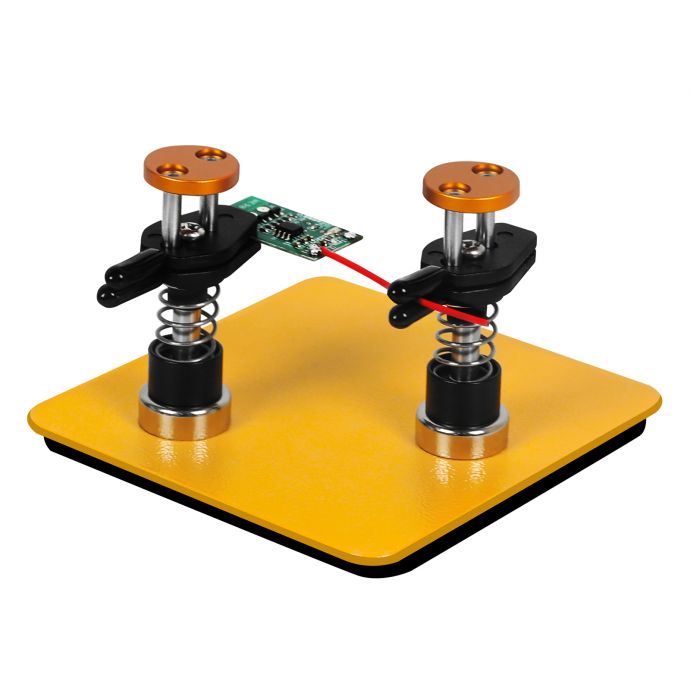
- keep the iron tip at the joint,
- feed solder (if you’re using wire solder),
- avoid overheating nearby components.
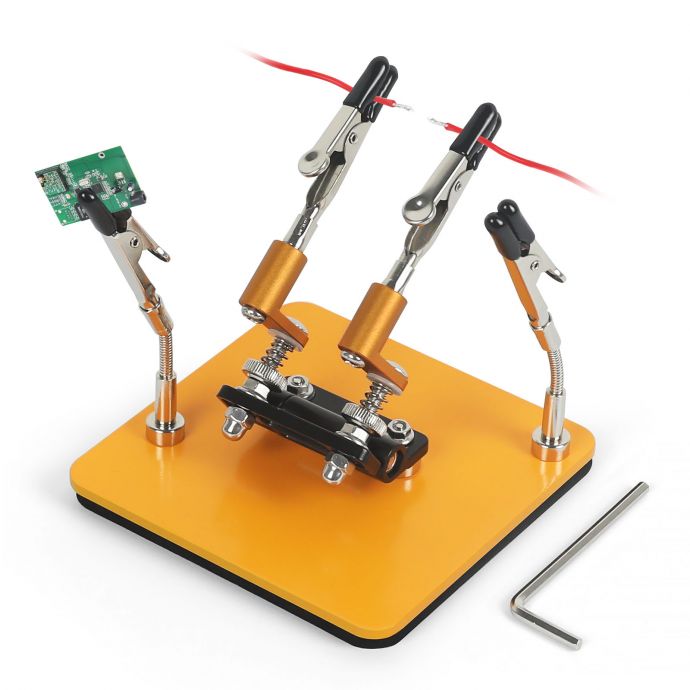
When you do that with just two hands, something inevitably gives. The tool’s job is to remove that bottleneck.
### 3) Heat changes everything
Metal expands as it heats. In tight, multi-lead assemblies, heat can cause components to drift if they aren’t constrained. With a steady hold, you solder once and move on—rather than repeatedly reheating to fix misalignment.
---
## Meet the Magnetic Helping Hands: Stability That Feels Like an Extra Set of Fingers
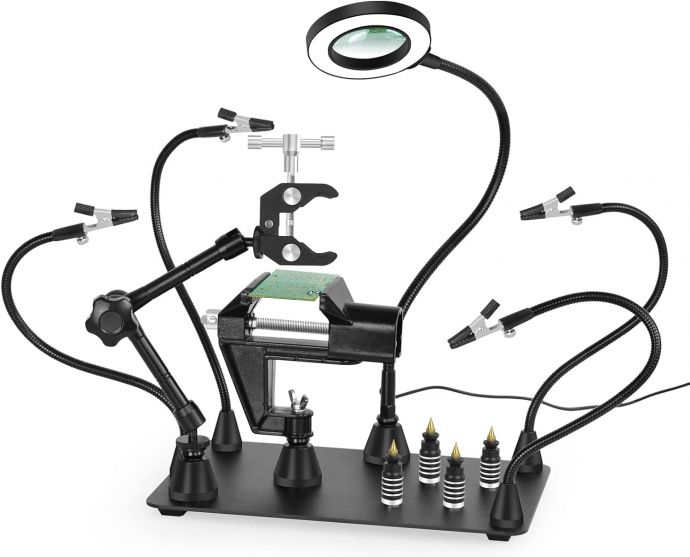
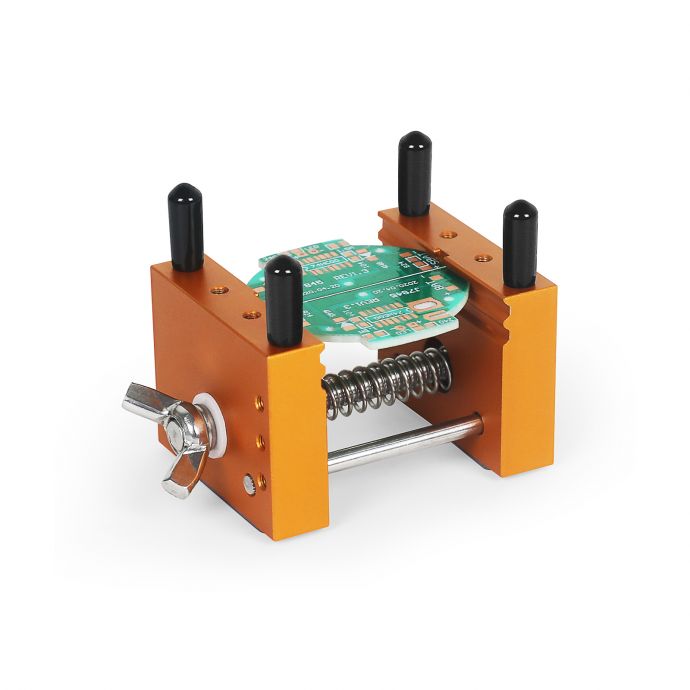
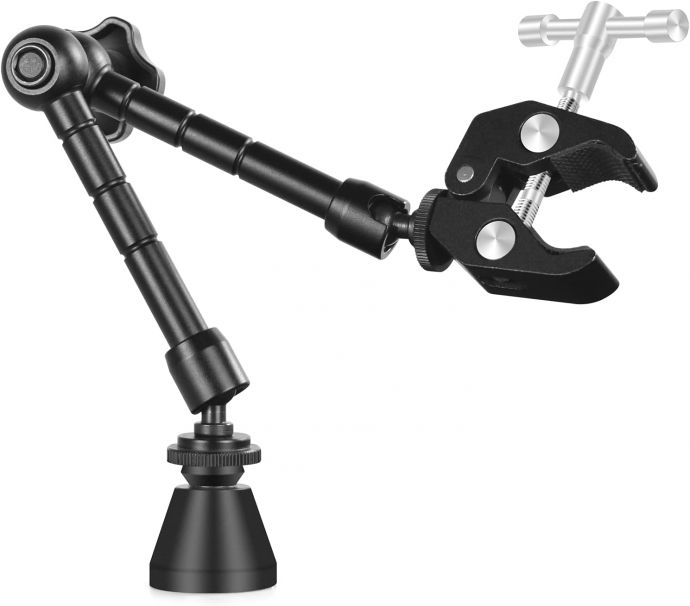
A third hand tool is essentially a work-holding system. Instead of relying on your fingers to keep everything in place, you use clamps or grips attached to an articulated arm setup.
The “magnetic” part is what makes the whole experience smoother and more flexible. Magnetic bases and magnetic positioning help you:
- lock your work area firmly,
- reposition quickly,
- and create stable angles without constantly fiddling.
In other words, the tool doesn’t just hold parts—it helps you *control* your workspace.
---
## What “3X Precision” Means for Real Projects
The marketing phrase “3X precision” can sound vague until you translate it into everyday soldering outcomes. Precision in soldering isn’t about being “fancy”—it’s about repeatable alignment.
Here’s how a quality magnetic helping hands tool boosts precision in practical terms:
### 1) Tighter positioning of leads and small components
When clips clamp your component securely, you reduce the chance of drift during heating. That means:
- cleaner lead alignment,
- fewer rework cycles,
- and more consistent joints.
Even if you’re already careful, stabilization removes the tiny errors that add up.
### 2) Better control of solder contact points
Precision soldering is about heating the joint and feeding solder at the right location. If the part shifts even slightly, solder may flow to the wrong area.
Hands-free positioning lets you bring the iron tip exactly where it should go, without fighting your own grip or the weight of the wire.
### 3) Easier inspection and correction
When parts are held at a stable angle, you can see what you’re doing. That improves your ability to inspect joints immediately—before the project is wrapped, coated, or assembled.
In practice, “3X precision” often translates to “three times fewer mistakes” or at least dramatically faster completion because you’re not guessing or chasing corrections.
---
## Why This Matters for Complex Electronics Projects
Complex projects aren’t just “harder.” They’re different. They often involve:
- multiple connectors,
- layered assemblies,
- fine-pitch components,
- wires that need specific orientation,
- and parts that must be held without crushing or bending.
A magnetic helping hands tool becomes valuable because it reduces the human-variable stress. You stop improvising with your hands and start executing clean, repeatable steps.
### Common scenarios where magnetic third hands shine
- **Soldering headers and pins** on PCBs or perfboards
Keeping each pin aligned while soldering all of them is tough without a stable fixture.
- **Wiring sensors and modules** with thin leads
Thin wire doesn’t forgive mistakes—any pull can loosen a joint.
- **Repairing broken connections**
You need precise placement, and you often only have access to one side of the connection.
- **Building prototypes with lots of small parts**
When you’re constantly switching components, a stable tool reduces setup time and makes each step faster.
- **Working with heat-sensitive components**
Fewer repeated touches means less time overheating nearby parts.
---
## How to Use Your Magnetic Helping Hands Like a Pro
Getting great results is partly tool capability and partly technique. Here’s a practical workflow you can adopt immediately.
### Step 1: Set up your workspace for stability
Place the base firmly on your bench. Make sure it won’t wobble when you touch the iron. With magnetic bases, you’ll often be able to adjust the arm position quickly—do it before heating anything.
Then position your clamps so they:
- hold the part without crushing it,
- support the work from the side or angle that keeps leads visible,
- and keep your hands free to solder.
### Step 2: Clamp the component so it can’t shift
For through-hole components (like resistors, diodes, or pin headers), clamp the body or hold the board firmly rather than grabbing the fragile leads.
If you’re soldering wires to pads, use clamps to hold the wire at the correct height and prevent it from springing away when heated.
### Step 3: Pre-position before bringing the iron in
Before you heat the joint, dry-fit everything:
- confirm lead alignment,
- check that the wire sits where the solder should flow,
- and make sure you can access the joint comfortably.
This is where a precision holding tool pays off. You’re not wrestling with alignment mid-solder—you’re preparing it upfront.
### Step 4: Solder with confidence: heat the joint, not just the solder
Standard soldering principles still apply:
- Place the iron tip on the joint (pad/lead junction),
- Let heat transfer,
- Then introduce solder so it flows onto the joint by capillary action.
Because your part is stable, you can do this cleanly with one or two controlled passes instead of repeated heating.
### Step 5: Avoid moving the joint while it cools
Even with perfect placement, movement during cooling can ruin the bond. After soldering, let it cool undisturbed. A third hand tool helps here too: it reduces accidental knocks and keeps the part fixed.
### Step 6: Inspect and clean
Once cooled:
- inspect visually (shiny and smooth generally indicates a good joint),
- check continuity if needed,
- and clean flux residue when appropriate.
Stable positioning makes inspection easier because the joint stays in view.
---
## The Real Benefits You’ll Notice After a Few Sessions
It’s common for makers to buy a soldering helper and then stop using it because “it’s one more thing.” But magnetic helping hands tend to become one of those tools you reach for automatically—because they reduce friction in the workflow.
Here’s what many users experience quickly:
### Faster builds
You spend less time re-positioning components and fixing mistakes. Even small time savings accumulate across a multi-hour project.
### Less stress
Soldering becomes calmer. Instead of rushing to hold everything in place, you can slow down and focus on clean technique.
### Cleaner joints
Precision holding means better contact, better heat transfer, and fewer solder bridges caused by shifting leads.
### More confidence on difficult steps
Some tasks feel intimidating—like aligning multiple pins, soldering fine wires, or working around dense components. Stable holding turns those “I hope this works” moments into routine operations.
---
## Choosing the Right Magnetic Helping Hands (What to Look For)
Not all third hand tools are equal. If you’re serious about precision, consider these factors:
### 1) Clamp strength and grip type
You want clamps that hold securely without damaging components. Look for grips that can comfortably handle both boards and wires.
### 2) Movement range and positioning flexibility
A good tool should allow you to rotate and angle the work so the joint is accessible from a comfortable angle.
### 3) Magnetic base stability
A magnetic base should be solid and resistant to wobble. Stability matters more than flashy features.
### 4) Fine adjustment control
If the tool allows subtle positioning changes, you’ll get more accurate soldering results—especially on small electronics.
---
## How This Tool Helps You “Unleash Your Inner Maker”
At its best, a soldering tool doesn’t just improve output—it changes your mindset.
When your equipment supports you, you’re more likely to:
- prototype faster,
- attempt upgrades,
- tackle repair jobs instead of postponing them,
- and keep learning without constant setbacks.
Soldering is part craft, part engineering. The more reliable your process becomes, the more creativity you can apply. That’s what helping hands