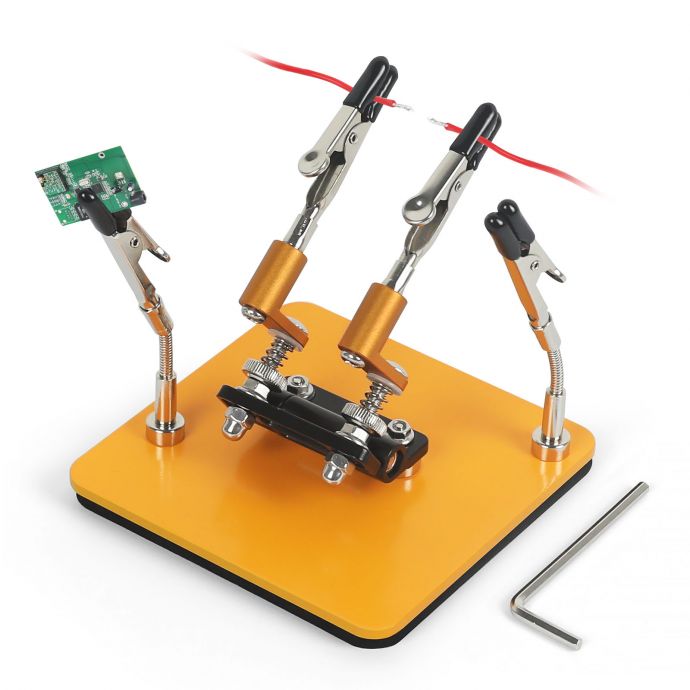
In the realm of electronics and circuit design, soldering is an indispensable skill, enabling makers to breathe life into their digital creations. However, where there's soldering, there's smoke – a noxious blend of metals and gases that poses a hazard to health. Thus, a functional solder fume extractor becomes an essential piece of equipment for any hobbyist or professional in the trade. Building your own 12V solder fume extractor offers not only a cost-effective solution but also a customizable tool tailored to your specific needs. Let's explore the journey of DIY mastery as we unveil the ultimate 12V solder fume extractor.
### Understanding the Need for a Solder Fume Extractor

The fumes generated during soldering primarily consist of volatilized flux, which can include rosin-based compounds. While these fumes don’t typically pose severe risks with short exposure, regular inhalation could lead to respiratory issues, headaches, and skin irritation. Moreover, in poorly ventilated environments, these risks are amplified. A good solder fume extractor can effectively capture and filter out fumes, creating a healthier workspace by absorbing, removing, and preventing smoke from lingering around the soldering station.
### Gathering Your Materials
Before diving into the build process, it’s vital to gather all necessary components. For a compact and efficient 12V solder fume extractor, you will need:

1. **12V DC Fan**: Opt for a fan with a size ranging from 80mm to 120mm depending on your workspace. Larger fans can move air more efficiently.
2. **Activated Carbon Filters**: These will trap particles and odors. Ensure they are compatible in size with your fan.
3. **Plastic or Metal Enclosure**: This will house the fan and filter. Consider a design that allows easy replacement of filters.
4. **Power Supply**: A 12V adapter or a battery pack, depending on whether you want a stationary or portable device.
5. **Soldering Equipment**: Including soldering iron, wires, and connectors.

6. **Switch**: An on/off toggle switch to control power flow.
### Assembling the Extractor
#### Step 1: Preparing the Enclosure

The enclosure is the backbone of your solder fume extractor. Choose a material that’s sturdy and easy to work with. Begin by cutting an opening slightly smaller than the fan on one side of the enclosure. This hole will be the intake point for the fumes.
#### Step 2: Mounting the Fan
Once the opening is prepared, align the 12V fan over the hole and secure it with screws. The fan should be oriented such that it pulls air through the hole; double-check the airflow direction indicated on the fan housing.

#### Step 3: Installing the Filter
Place the activated carbon filter in front of the fan. Depending on your setup, you can use a filter casing or a simple frame to keep the filter in place. Ensure that the setup allows for easy filter changes and that the filter is firmly secured to prevent bypassing of unfiltered air.
#### Step 4: Connecting the Power Supply

Connect your 12V power source to the fan wires, incorporating the toggle switch on the positive wire to offer easy operation. Solder connections and insulate with heat shrink tubing or electrical tape for safety.
#### Step 5: Final Assembly and Testing
Seal the enclosure, ensuring airtightness except at the intake hole. Activate the fume extractor by toggling the switch and verify airflow through the filter. A successful test would see a notable suction at the intake and filtered air expelled from the vent.

### Enhancing Functionality
To expand the utility of your extractor, consider implementing additional features:
- **Suction Adjustment**: By integrating a fan speed controller, you can adjust the effectiveness based on the intensity of your soldering activities.
- **Flexibility in Design**: Consider mounting the extractor on a flexible arm to position it optimally over your soldering work.
- **Replaceable Filters**: Build an easy mechanism for swapping out old filters to maintain optimal extraction over time.
### Maintenance and Safe Usage
Regular maintenance is crucial for the longevity and efficacy of your solder fume extractor. Monitor the condition of the activated carbon filters and replace them as necessary to ensure continuous protection. Also, periodically check all electrical connections, especially if using a portable battery-powered setup.
### Conclusion
Creating your own 12V solder fume extractor not only enhances your soldering station's safety but also showcases your ability to innovate and tailor equipment to your specific needs. With a little creativity and understanding of fume extraction principles, your DIY solution can provide the same level of protection and peace of mind as commercial options. Whether you're building intricate motherboards or simple hobby circuits, a healthier soldering environment awaits with your DIY fume extractor—ensuring your passion for electronics remains a pleasant and sustainable pursuit.


