Constant exposure to solder fumes isn’t just a nuisance—it can damage your health over time. The smoke generated during soldering contains flux vapors, microscopic metal particles, and other volatile chemicals that can irritate your eyes, nose, and throat, or worse, lead to chronic respiratory issues with prolonged exposure. Whether you’re a professional electronics technician or an enthusiastic hobbyist, safeguarding your lungs should be a top priority in your workspace.
While commercial solder fume extractors are available, they can be pricey, bulky, or simply unnecessary for a small personal setup. The good news is that you can craft your own highly effective DIY smoke absorber using accessible tools and materials, costing just a fraction of store-bought alternatives. In this guide, we'll walk you through building your own 6.7-inch smoke absorber, balancing portability, affordability, and performance.

## 1. Why a Smoke Absorber Matters
Flux—found in both solid and core solder—helps improve solder joints but, when heated, releases rosin and organic vapors into the air. These fumes, along with the microscopic particles, are classified as irritants and sometimes even as occupational hazards for prolonged high-level exposure. Even if your soldering sessions are brief, the cumulative effect matters.
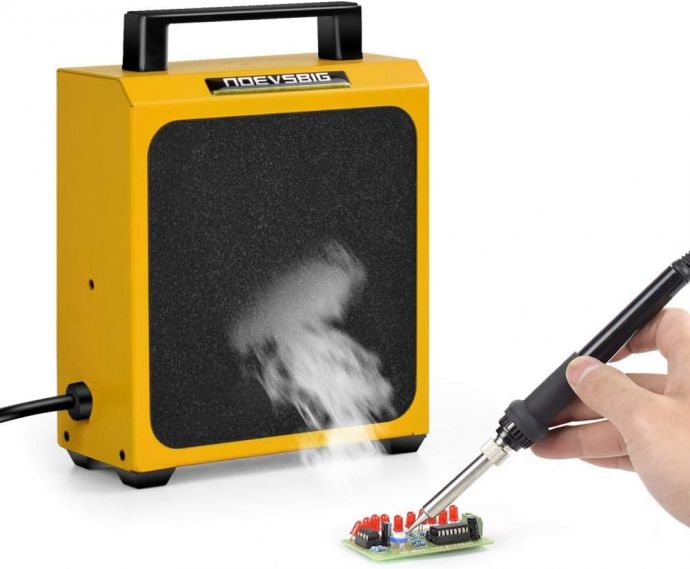
A good smoke absorber pulls in contaminated air right at the source—the soldering tip—and filters out particulates and vapors before they spread. This keeps your breathing zone much safer, and with a little ingenuity, you can assemble a practical device sized just right for home electronics or bench soldering.
## 2. Gathering Your Materials
For this project, our target is a compact 6.7-inch (approximately 170mm) smoke absorber that can sit conveniently near your work area. Here’s what you’ll need:
**Main Components:**
- **DC fan (6.7" or 170mm diameter)**: Rated for at least 12V with a decent airflow (ideally above 60 CFM).
- **Activated carbon filter pad**: Cut to fit the fan size.
- **Sturdy enclosure**: A project box, food container, or custom frame slightly larger than the fan.
- **Power supply (matching fan requirements)**: Often 12V DC, from an old adapter or battery.
**Other Supplies:**
- Soldering iron and solder (ironically, you’ll need this!)
- Wire, connectors, and switch (for safe operation)
- Screws, nuts, or glue for mounting components
- Small feet, rubber pads, or stands for stability

- Basic tools (drill, hot glue gun, wire stripper, screwdriver)
## 3. How It Works: Layer by Layer
Understanding the smoke absorber’s structure ensures you get the design right:
- **Air Intake**: The smoke, as it rises from your work, is drawn into the face of the fan.
- **Filtration Layer**: The air first passes through an activated carbon pad that captures volatile organic compounds and particulates.
- **Fan**: The fan provides continuous suction, drawing solder fumes through the filter and safely ejecting clean air out the back.
Since the unit will sit close to your workpiece, even a compact fan can provide significant improvements to air quality.

## 4. Step-by-Step Build Guide
### Step 1: Prepare the Fan and Filter
Find a good-quality DC fan—old computer case fans are excellent for this purpose, especially larger high-flow models. Check compatibility with your power source (typically 12V).
Cut the activated carbon filter pad to cover the entire fan face. These filters are generally available for kitchen range hoods, air purifiers, or pet supplies. The thickness should be between 10-20mm for optimal absorption without strangling airflow.
### Step 2: Construct the Enclosure
Your enclosure serves two roles: holding the fan securely and channeling air. You can use a plastic project box, a stiff cardboard container, or even a 3D-printed frame if you have access.
- Cut circular openings on one side for the fan intake, and on the back or sides to allow air to escape.
- Ensure the enclosure is slightly larger than the fan so you have space for the fan, filter, and wiring.
- For stability, attach small rubber feet or weight to the base.
### Step 3: Mount and Wire Components
- Attach the fan inside the enclosure with screws, brackets, or hot glue.
- Place the carbon filter so it sits flush against the fan’s intake side. You can use Velcro strips for easy replacement.
- Route the wiring for 12V power in a safe, strain-relieved way.
- Integrate an on/off switch and, if you like, a speed controller.
### Step 4: Final Assembly and Safety Checks
- Double-check that the filter stays in place and doesn’t get sucked into the fan.
- Ensure the enclosure is stable and all connections are electrically safe (insulate exposed wires, secure solder joints).
- Power on the unit and test airflow. Hold a bit of solder smoke near the intake to see if it’s swiftly drawn in and dissipated.
## 5. Placement and Use Tips
- Position the smoke absorber 4–8 inches from the soldering tip, angled directly at the rising fume path.
- Keep the filter clean—replace or wash the carbon pad every few weeks if you solder regularly.
- Use the device in tandem with other ventilation (an open window, for instance) to maximize safety.
- When not in use, store the unit in a dust-free area to prolong filter life.
## 6. Customizations and Enhancements
Your DIY smoke absorber is already a major upgrade, but there’s plenty of room for personalization:
### Add a HEPA Pre-Filter
For ultra-high filtration, add a thin HEPA layer before the carbon. This traps even finer particles before they reach the activated carbon layer, making your unit even more effective.
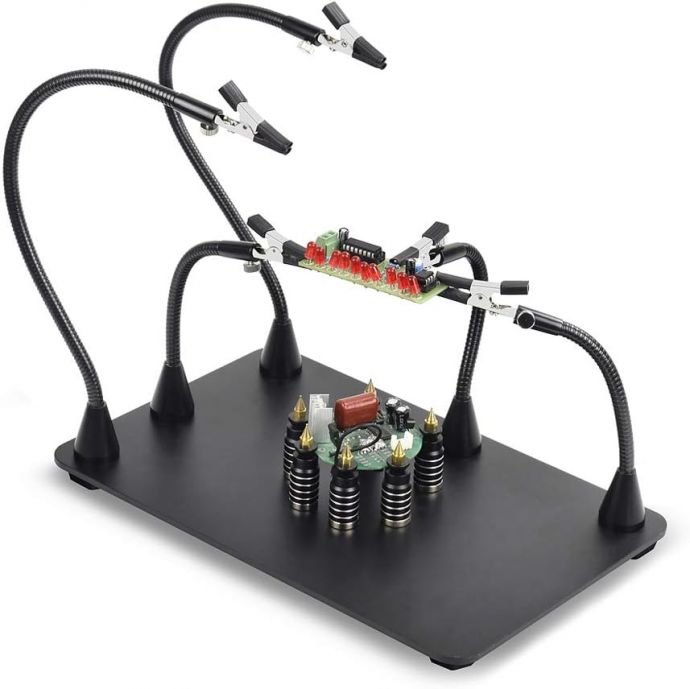
### Adjustable Stands or Arms
A flexible gooseneck mount allows you to position the absorber exactly where you need it, especially handy if your projects move around your bench.
### Multiple Fan Speeds
A simple PWM controller or a rotary switch lets you dial up more power for heavy soldering and dial down for smaller jobs, balancing noise and airflow.
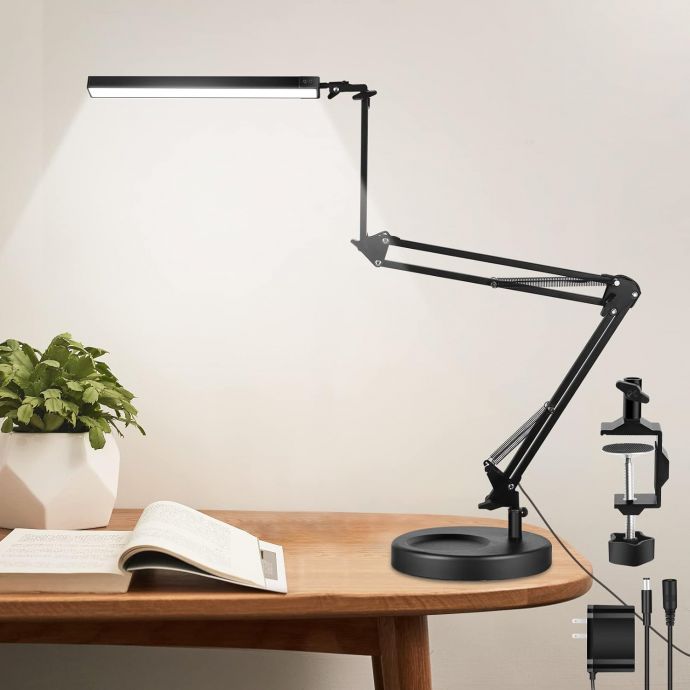
### LED Lighting
Integrate a slim LED strip beneath the filter to better illuminate your workspace—critical for precision soldering.
## 7. Troubleshooting and Maintenance
- **Weak Airflow?** Remove and check the fan for dust buildup or obstructions. Replace the filter if it’s too dirty or clogged.
- **Noise Issues?** Ensure the fan is mounted securely. Isolate with rubber damping.
- **Odors Persist?** Upgrade the carbon filter or stack additional layers for higher filtration.
Frequent filter changes are essential for consistent performance—plan to change the carbon pad every 1–2 months with regular use.
## 8. Real-World Impact: Breathing the Difference
Building your own smoke absorber isn’t just a fun and satisfying electronics project; it’s an investment in your long-term health. Users commonly report the immediate benefit of fresher air and less eye or throat irritation during lengthy soldering sessions.
For hobbyists, having a portable and effective unit also means you don’t need to overhaul your workspace or install elaborate ventilation ducts. And with the money saved over commercial extractors, you can invest in better soldering tips, higher-quality solder, or other useful tools.
## 9. Common Questions
**How effective is this compared to a commercial unit?**
With a strong fan and a good carbon filter, DIY units can capture over 90% of visible smoke and most odors. For heavy-duty industrial use, purpose-built extractors may add HEPA and chemical filtration, but for bench-top soldering, the difference is minimal.
**What about lead or metal fumes?**
While most dangers come from flux, some solder does contain lead. LEAD fumes are not significant unless the solder is vaporized (requires much higher temps), but it’s still smart to minimize all inhalation. Your smoke absorber helps reduce exposure to all particulates.
**Can I use something other than a carbon filter?**
Carbon is best for volatile organic compounds, but you can combine it with HEPA or fine dust pre-filters for improved performance.
## 10. Conclusion
A properly designed DIY smoke absorber is the small, portable shield every soldering enthusiast needs. At only 6.7 inches—about the size of a compact desk fan—you can build a reliable fume extractor quickly, improving your workshop environment and protecting your lungs with every project.
As you solder, always remember: what you can’t see or smell may be just as dangerous as what you can. Taking simple steps—like building and regularly using a fume absorber—ensures your passion for electronics remains a lifelong, healthy hobby.