Soldering is an indispensable skill in electronics and metalwork, but the process releases fumes packed with potentially harmful chemicals such as rosin, lead, and various solvents. Inhaling these fumes over time can cause health problems, ranging from mild respiratory irritation to much more severe, chronic issues. While commercial fume extractors exist, they are often expensive or lack the flexibility many DIY enthusiasts and hobbyists need. Fortunately, you can build your own reliable smoke absorber that efficiently protects your lungs while you work. This guide outlines step-by-step instructions for creating the “6.7 DIY Smoke Absorber”—an affordable, powerful, and customizable device tailored for soldering setups.
**Understanding Soldering Fume Hazards**
Before we jump into the build, it’s important to recognize why fume extraction is critical. The flux in solder releases particulates and chemical compounds such as formaldehyde, acrolein, and isopropyl alcohol as it heats. These agents can trigger:
- **Short-term effects**: Headaches, nausea, and throat irritation
- **Long-term exposure risks**: Asthma, chronic bronchitis, and potential neurological issues if working with lead-based solder
With most hobbyist soldering usually performed in compact spaces, adequate ventilation and fume extraction become even more crucial.
**The 6.7 DIY Smoke Absorber Advantage**
This project distinguishes itself from basic “fan-and-filter” designs in several ways:
1. **High Efficiency**: Uses a powerful brushless DC fan for strong air draw.
2. **Optimized Filtering**: Employs a layered filtration approach for better fume removal.
3. **Cost-Effectiveness**: Built from affordable, easy-to-source components.
4. **Scalable and Modular**: Can be upgraded or tailored to different workspace sizes.
5. **Quiet Operation**: Designed for minimal noise, suitable for home environments.
The “6.7” in the name refers to the 6.7-inch diameter fan filter plate—offering a generous surface area and excellent airflow for most soldering sessions.
---
### Materials and Tools
- **6.7-inch (170mm) brushless DC fan** (120–180 CFM airflow, preferably 12V)
- **High-quality activated carbon filter** (matching fan size)
- **HEPA pre-filter material**
- **Sturdy enclosure**: Fire-retardant plastic or metal, box dimensions approximately 8” x 8” x 4”
- **12V DC power supply** (2–3A output recommended)
- **On/off rocker switch**

- **Foam gasket tape**
- **M3 or M4 mounting hardware and nuts**
- **Basic hand tools**: Drill, screwdrivers, wire cutters, pliers
- **Soldering iron and heat shrink tubing (for wiring)**
- **Optional**: LED indicator, variable speed controller, fan grille, adjustable arm or stand
---
### Step 1: Designing the Enclosure
The enclosure should accommodate the fan, allow unrestricted intake of fumes, and provide a secure, airtight place for the filters. Metal is preferred if available, as it’s resistant to heat and potential static. Otherwise, use a dense, high-quality plastic box.
- Mark a 6.7-inch circular opening in one panel (this will be the filter/fume intake).
- Drill mounting holes corresponding to your fan’s screw pattern.
- Select a side panel for your control switch and power connector.
Ensure the design allows you to access and replace the filter without disassembling the entire box—a sliding or hinged front panel is ideal.
---
### Step 2: Fan & Filter Installation
1. **Fit the Fan:**
Mount the DC brushless fan to the inside of the enclosure, facing outward—so it pulls air from the filter side into the box and out an exhaust vent. Use foam gasket tape to seal the interface and prevent leaks.
2. **Create the Filter Assembly:**
- Cut a piece of HEPA material to size and secure it as the pre-filter nearest the fume intake. This will capture particulate matter before it clogs the carbon filter.
- Place the activated carbon filter directly behind the HEPA sheet. This filter adsorbs chemical vapors and odors from soldering fumes.
3. **Secure the Filter:**
Clamp or pinch the filters in place between the enclosure wall and a removable filter grille. This ensures a tight seal so all drawn air is properly filtered.
4. **Add Exhaust Openings:**
The extracted, filtered air must escape. If using a sealed box, cut out exhaust slots or mount a grille on the rear or side wall, away from your work area.
---
### Step 3: Wiring and Controls
- Solder or crimp the fan’s positive and negative leads to the switch and power input jack.
- Secure all wiring with heat shrink tubing for durability and insulation.
- Mount the power switch and, optionally, an LED indicator to signal when the unit is active.
- If desired, add a speed controller for adjusting airflow according to the intensity of your soldering tasks.
Be diligent with insulation—avoid shorts. Test with the lid open before closing up the box.
---
### Step 4: Testing the Smoke Absorber
Before relying on your absorber for daily use:
- Plug it in and power it up without any filters to confirm the fan operates smoothly.
- Insert the filter assembly and test for air leaks around the edges.
- Hold a strip of paper or incense stick near the intake; the airflow should quickly draw fumes through the filter.
- Check exhaust air to ensure the chemical odor is drastically reduced.
If you notice escaping fumes or weak suction, inspect seals and consider a stronger fan or denser filters.
---
### Step 5: Positioning and Usage Tips
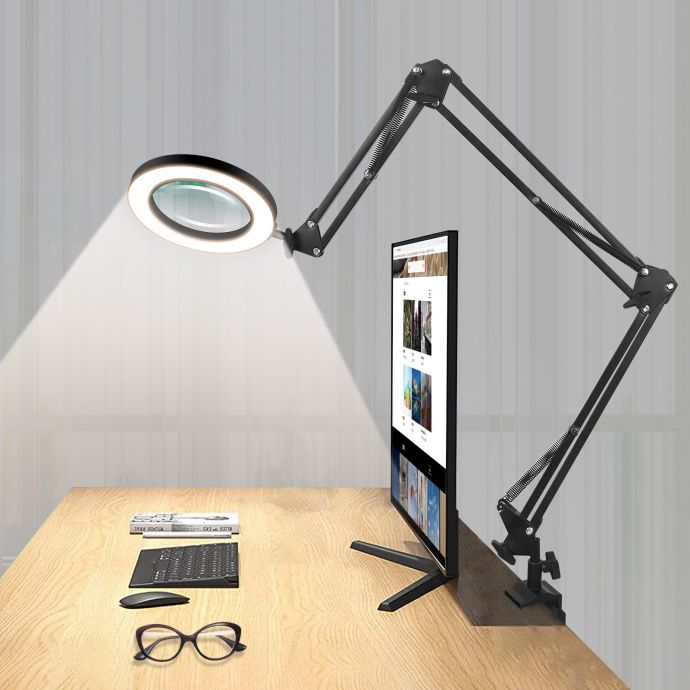
Proper placement is critical. Your absorber should be as close as possible to the soldering tip—ideally within 4–8 inches—directly sucking up the rising smoke plume. Mounting the absorber on a simple articulated arm or adjustable stand allows you to reposition it as needed.
For longer projects, check the filters after every few hours of use. Vacuum the pre-filter and replace the carbon layer every 2–3 months, depending on frequency.
---
## DIY Enhancements for Maximum Safety
While the above configuration works for most electronics hobbyists, here are some popular upgrades:
**1. Advanced Filtration:**
You can stack additional carbon filters or upgrade to a higher-grade VOC-removal pad for extensive lead-free soldering or production environments. Adding a secondary HEPA layer post-carbon can boost particulate removal.
**2. Variable Speed Control:**
A PWM (pulse-width modulation) fan controller lets you fine-tune suction for small or large jobs, reducing noise and extending filter life during light tasks.
**3. Airflow Monitoring:**
A differential pressure gauge or a simple “smoke pencil” test ensures the filter isn’t clogging up or restricting airflow over time.
**4. Portability:**
Build a compact carry handle or battery-powered version (using Li-ion power packs) for field repairs or classroom environments where outlets aren’t always available.
**5. Smart Integration:**
For the tech-inclined, integrate sensor modules such as VOC (volatile organic compound) readers and temperature monitors to log air quality data as you work.
---
## Maintenance and Long-Term Care
A smoke absorber only protects as well as its filtration allows. Set a regular maintenance schedule:
- **Pre-filter:** Clean weekly with a soft brush or vacuum. Replace every 1–2 months.
- **Carbon filter:** Replace every 2–3 months under moderate use, more frequently if you smell persistent fumes.
- **Fan:** Clear dust from blades and intake grilles to maintain efficient airflow.
Label your filters with change dates. Keep a log if you solder daily.
---
## Comparison with Off-the-Shelf Extractors
- **Cost**: Commercial extractors of similar airflow and filtration often cost $80–200, while a DIY model can be assembled for under $40–$60 using high-quality parts.
- **Flexibility**: Customizing the box and filter allows you to match your workspace size and type of work—something branded models rarely offer.
- **Upgradeability**: Most store-bought extractors use proprietary filter packs, while your DIY version can accept readily available and affordable filter sheets.
While not suitable for full-scale industrial use, the 6.7 DIY Smoke Absorber meets or exceeds the performance required for hobbyists, students, and small workshops.
---
## Breathing Easy: Health and Safety Come First
The best soldering setups always prioritize clean air. A reliable smoke absorber removes invisible threats before they can affect your lungs, allowing for longer and healthier creative sessions. Even as you enjoy improvements in soldering performance or workspace neatness, the most vital upgrade is the knowledge that you’re actively protecting your health.
If you work in a garage, basement, or windowless room, pair your smoke absorber with good cross-ventilation or a small open window, especially during heavy soldering jobs. Remember: no filter lasts forever—commit to regular maintenance and filter changes.
---
## Troubleshooting and FAQs
**Q1: My absorber doesn’t seem to filter fumes effectively. What’s wrong?**
A: Double-check that the fan is positioned to pull air through all filters, with no gaps or leaks. Replace filters if they appear discolored or clogged—they lose efficiency quickly in busy settings.
**Q2: Can I use regular kitchen carbon pads?**
A: Standard kitchen filter pads work, but activated carbon made for soldering or air purification is denser and better suited for removing VOCs and fine particulates.
**Q3: Is this setup safe for lead-free soldering or flux-cored wire?**
A: Yes. While lead-free solder releases fewer heavy metals, the organic flux still generates harmful gases. Your absorber’s layered filter design applies in both cases.
**Q4: How