In the realm of DIY electronics, soldering is an essential skill that brings innovations to life. Creating intricate circuit designs, repairing gadgets, or customizing electronics often requires precise and dedicated soldering work. However, soldering isn't without its challenges, particularly in terms of health and safety. The smoke generated during the soldering process contains harmful substances, including lead, formaldehyde, and phenol, which can pose serious health risks when inhaled over time. Therefore, incorporating a solder fume extractor into your workspace is a crucial, albeit often overlooked, aspect of creating a safe and efficient working environment.
A 12V solder fume extractor emerges as an ideal solution for DIY enthusiasts and professional makers alike. Compact, efficient, and easy on the power grid, this device elevates your soldering station from a simple workspace to a powerhouse of safety and effectiveness. Here’s a comprehensive guide to understanding and constructing a 12V solder fume extractor that serves as the ultimate smoke absorber for your soldering needs.

### Understanding the Necessity of a Solder Fume Extractor
Before diving into the construction of your own fume extractor, it's essential to comprehend why such a device is indispensable in any soldering station. The fumes emitted during soldering are composed of fine particles and gases that can irritate your respiratory system, and prolonged exposure can lead to more severe health issues. A solder fume extractor effectively extracts these noxious fumes directly at the source, preventing them from dispersing into the air you breathe.
In addition to health benefits, a well-designed fume extractor contributes to maintaining a clean workspace. It significantly reduces the buildup of residue and particles on surfaces, which can otherwise affect sensitive electronic components, potentially leading to malfunction or damage.

### Key Features of an Ideal 12V Solder Fume Extractor
When designing a DIY solder fume extractor, there are several key features to consider to maximize efficiency and usability:
1. **Portability**: A 12V system is compact and can be powered by a variety of sources, including batteries and power adapters, making it incredibly portable. This mobility enables you to carry it with you for any on-the-go soldering tasks.

2. **Efficiency**: The primary function of the extractor is to efficiently draw in fumes and filter them. High-quality fans and effective filtration systems are crucial for capturing and neutralizing harmful particles and gases.
3. **Quiet Operation**: A quiet fan ensures a comfortable working environment, allowing you to focus on your project without distraction.
4. **Ease of Maintenance**: The device should be easy to disassemble for cleaning and filter replacement, ensuring longevity and sustained performance.
5. **Affordability**: While commercial fume extractors can be costly, building your own can be economical without sacrificing effectiveness.
### Building Your Own 12V Solder Fume Extractor
Creating a DIY fume extractor is a rewarding endeavor that not only enhances your soldering experience but also hones your skills. Here’s how to get started:
#### Materials You Will Need
- **12V DC fan**: Look for a fan with a size appropriate for your workspace. A 120mm fan is often sufficient.
- **Activated carbon filter**: This is essential for absorbing both particulate matter and gaseous chemicals.
- **Power supply**: Choose a 12V power adapter, or for greater portability, use a rechargeable 12V battery.

- **Switch**: A simple toggle switch for turning the device on and off.
- **Housing**: An enclosure to mount the fan and filter. This could be a small, customized box or an enclosure repurposed from another device.
- **Basic wiring components**: Wires, connectors, and soldering tools to assemble the circuit.
#### Step-by-Step Construction Guide
1. **Prepare the Housing**: Ensure your chosen enclosure provides enough space for the fan and filter. Cut an opening to mount the fan securely at one end and another opening for the extracted fumes.
2. **Mount the Fan**: Attach the fan to the opening in your housing, ensuring it is securely fastened to minimize vibration and noise. The arrow on the fan should point away from the workspace, indicating the direction of airflow.
3. **Attach the Carbon Filter**: Position the activated carbon filter in front of the fan, securing it in place with brackets or removable clips for easy replacement. The filter should cover the entire face of the fan to ensure all fumes pass through it.
4. **Wiring and Power Supply**: Connect the fan to the power supply using the appropriate wiring. Integrate the toggle switch into the circuit, placing it in a convenient position on the housing for easy access.
5. **Test the System**: Before sealing the housing, test the fume extractor by powering it on. Ensure the fan operates smoothly, and check for any issues like unusual noises or weak suction.
6. **Final Assembly**: Once everything functions as expected, secure the top of the enclosure and perform a final test. Make sure the extractor effectively pulls in fumes when positioned near your soldering work.
### Enhancing and Maintaining Your Fume Extractor
Now that your fume extractor is operational, consider these tips for optimizing its performance and maintaining its longevity:
- **Regularly Replace Filters**: The efficiency of your fume extractor heavily depends on the state of the filter. Keep a supply of replacement filters and change them regularly or as needed based on usage.
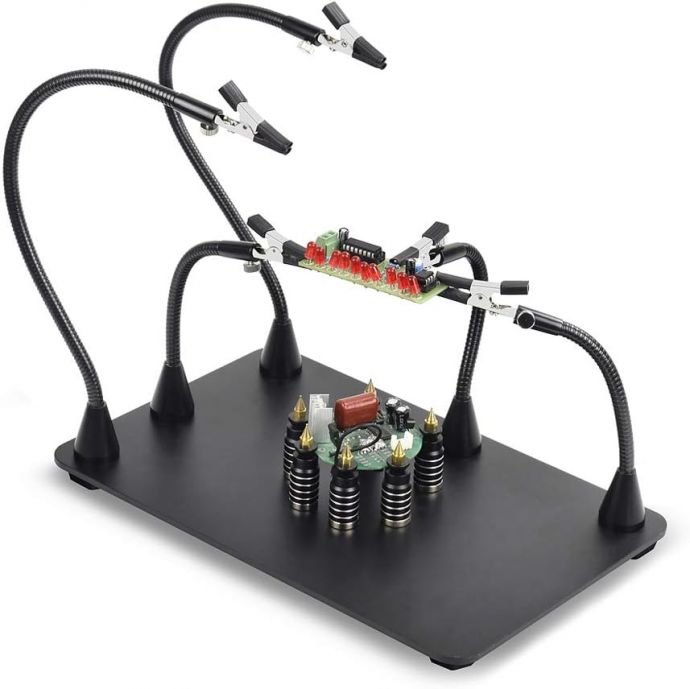
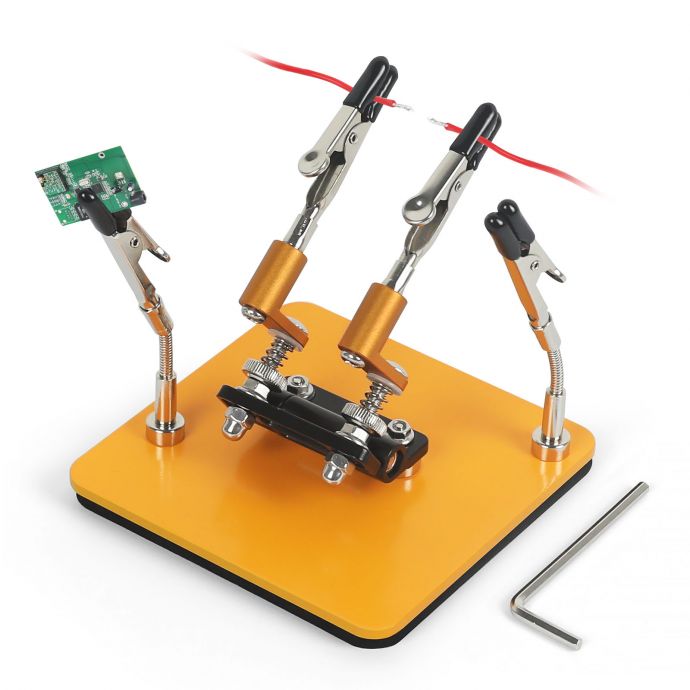
- **Adjustable Stand**: Mount your extractor on an adjustable stand or arm to easily reposition it according to the size and scope of your soldering tasks.
- **Incorporate Extra Features**: For added convenience, consider adding features like a built-in LED light to illuminate your workspace or a speed control to adjust the suction power.
### Conclusion
Investing time and effort into building a 12V solder fume extractor is more than just a practical enhancement to your soldering station—it's a commitment to safety and quality in your DIY projects. By understanding the mechanism and components involved, you not only create a cleaner and safer work environment but also empower yourself with knowledge and skill. Embrace this DIY project as a step towards transforming your workspace into a true powerhouse of innovation and creativity.