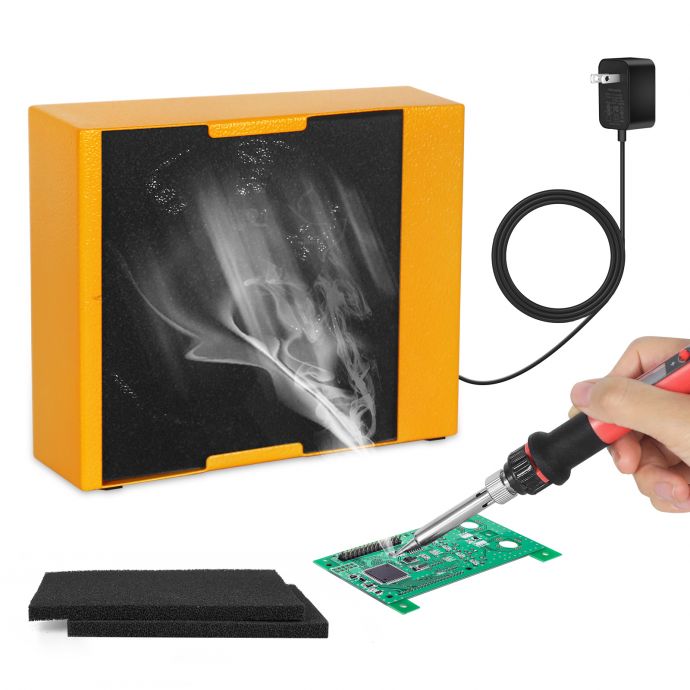
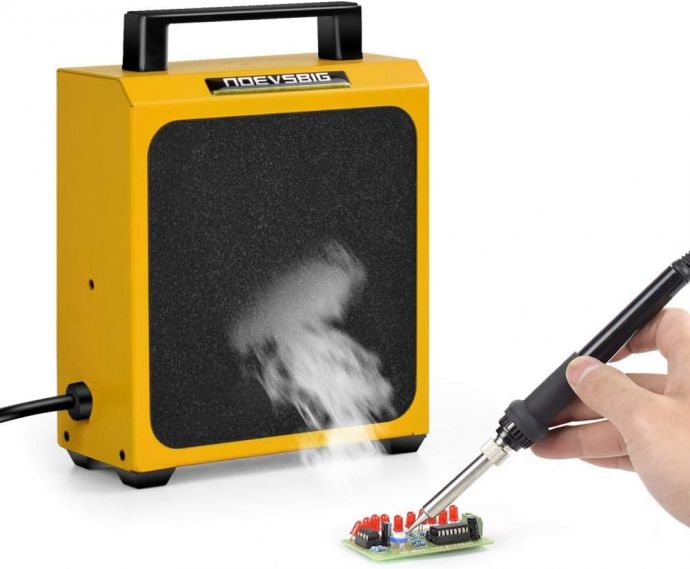
In the world of electronics and DIY projects, soldering is a fundamental skill. However, it also comes with its own set of hazards, particularly the fumes released during the process. These fumes, which contain potentially harmful substances like lead, flux, and other chemicals, can pose significant health risks if inhaled over time. As awareness of these risks increases, so does interest in practical solutions to mitigate them. Enter the 12V solder fume extractor—a simple, effective, and affordable DIY project that can greatly enhance the safety of your workspace.
**The Importance of Fume Extraction in Soldering**
Soldering fumes can contribute to respiratory issues and other health problems, making effective fume extraction a crucial aspect of any workspace where soldering is regularly performed. While professional-grade fume extractors are available for purchase, they can be quite expensive, particularly for hobbyists or small-scale operations. Creating your own fume extractor not only offers cost-saving benefits but also provides the satisfaction of building a tool tailored to your specific needs.
**What You Need for a DIY 12V Solder Fume Extractor**
Constructing a solder fume extractor is a relatively straightforward process that involves a few key components. Here's a breakdown of the materials you'll need:

1. **12V DC Fan**: This is the heart of your fume extractor. Computer case fans are a popular choice due to their availability and efficiency. Opt for a fan size that suits your workspace; typically, a 120mm fan is sufficient for most small-scale soldering tasks.
2. **Activated Carbon Filter**: The carbon filter captures and neutralizes harmful particles and odors from the solder fumes. These filters can be found in various appliance stores, tailored for use in range hoods and air purifiers.
3. **Power Supply**: A 12V adapter or battery pack will power your fan. Ensure the power source matches the fan's voltage and current requirements to maintain optimal performance.

4. **Housing for the Extractor**: The housing can be made from various materials such as wood, acrylic, or metal. It's essential to design it in a way that allows unobstructed airflow while securely holding both the fan and filter.
5. **Wiring and Switches**: Basic wiring equipment and a toggle switch will enable you to easily turn the unit on and off.
6. **Miscellaneous Tools**: Basic tools like a screwdriver, wire cutters, and a soldering iron (ironic, isn’t it?) will be needed for assembly.
**Steps to Build Your Solder Fume Extractor**
1. **Design the Housing**: Begin by sketching a design for your extractor housing. Factor in space for the fan and filter, ensuring there's an easy way to replace the filter when needed. Ensure there's a proper inlet and outlet for airflow.
2. **Assemble the Housing**: Construct the housing according to your design, making sure the fan fits snugly and the filter is easily accessible but securely held in place.

3. **Mount the Fan**: Attach your 12V fan inside the housing at the inlet, ensuring the airflow direction is set to draw fumes through the filter.
4. **Install the Filter**: Position the activated carbon filter behind the fan, so that the air is pulled through it. The filter should fit securely to prevent air from bypassing it.
5. **Set Up the Wiring**: Connect the fan to the power supply. Integrate a switch in this circuit to allow easy control over the power without disconnecting the entire unit.

6. **Final Assembly**: Secure all components and test the extractor. Ensure the fan operates smoothly, and the filter remains in place during operation.
**Operation and Maintenance**
To maintain your DIY fume extractor's efficiency, regular maintenance is key. Here are some tips:
- **Filter Replacement**: Activated carbon filters lose effectiveness over time. Check them regularly and replace them as needed to ensure maximum efficiency in fume absorption.
- **Fan Check**: Dust and particles can accumulate in the fan, reducing performance. Periodically clean the blades and check for any operational issues.
- **Power Source Care**: Ensure that your power supply remains in good condition. Over time, battery packs may need recharging or replacement.
**Enhancements and Modifications**
Once your basic fume extractor is functional, you can consider enhancements to improve usability and performance. Here are some ideas:
- **Variable Speed Control**: Add a fan speed controller to adjust the extraction rate according to your needs. This can be particularly useful when dealing with varying amounts of smoke.
- **Portability Enhancements**: Design a handle or add lightweight materials to make your unit more portable, allowing you to easily move it to different workspaces.
- **Noise Reduction**: Apply foam or other dampening materials inside the housing to minimize operational noise, ensuring a quieter work environment.
**Conclusion**
Building your own 12V solder fume extractor is not only a rewarding DIY project, but it also significantly contributes to a safer and healthier working environment. By tailoring your design to your personal preferences and operational needs, you create a tool that provides both peace of mind and practical functionality. As you continue to engage in soldering projects, the satisfaction of a self-built solution will only enhance your enthusiasm and commitment to safe, mindful craftsmanship.
This DIY endeavor not only empowers you with technical knowledge and skills but also embodies the spirit of innovation and resourcefulness inherent in every dedicated hobbyist and electronics enthusiast. So roll up those sleeves, gather your materials, and breathe easy knowing you've taken a significant step in safeguarding your health while you indulge in your passion for creation.