In the world of DIY electronics, safety and efficiency go hand in hand to ensure that your passion doesn't come at the expense of your health. Soldering, a fundamental skill for electronics enthusiasts, generates fumes containing potentially harmful chemicals. To counter this, a well-designed fume extractor becomes an essential tool in any hobbyist's arsenal. This article delves into the creation of a 12V solder fume extractor, combining functionality, affordability, and DIY prowess.
### Understanding the Necessity of a Fume Extractor

Soldering involves melting solder to create secure connections between electronic components on circuit boards. During this process, the flux within the solder releases fumes that contain an amalgam of chemicals including rosin and small particles of lead or other metals. Inhalation of these fumes poses health risks, ranging from respiratory irritation to long-term complications.
A solder fume extractor minimizes these risks by drawing in the hazardous fumes before they disperse into the air, filtering them, and then releasing cleaner air back into your environment. This project outlines the steps to create a simple yet effective fume extractor powered by a 12V system, making it portable and easy to integrate into any workspace.
### Gathering Your Materials

Before diving into the assembly process, gather the necessary materials and tools:
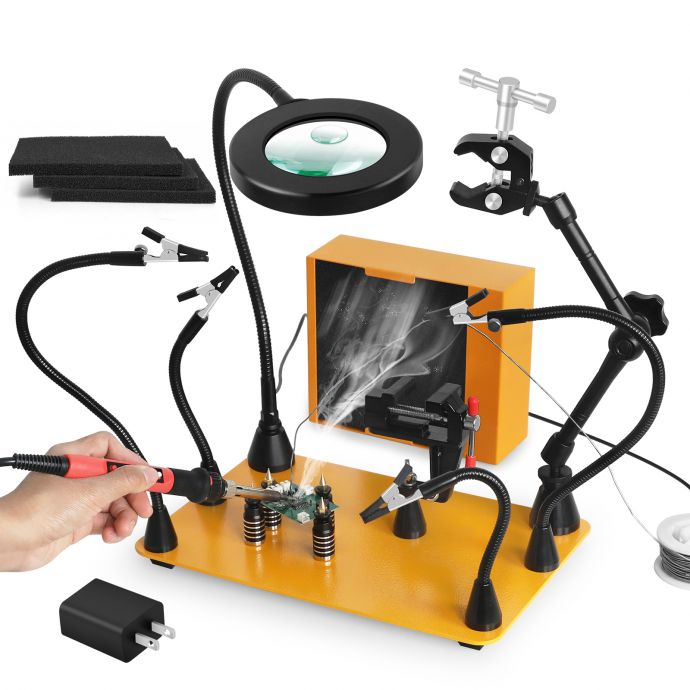
- **12V DC Fan**: Typically used in computer cooling, a fan with a size of 120mm is ideal for adequate airflow.
- **Activated Carbon Filter**: Known for its excellent absorption properties, this will serve as the primary filtration medium.
- **12V Power Supply Adapter**: To power the fan efficiently.

- **Switch**: A simple on/off switch to control the fan operation.
- **DC Jack Connector**: To connect the power supply to the fan setup.
- **Fan Grille and Dust Filter**: For additional protection against dust and larger debris.
- **Screws and Nuts**: To secure all components together.
- **Soldering Iron and Solder**: For any wiring that needs to be connected.
- **Basic Tools**: Including a screwdriver, wire stripper, and a multimeter for electrical checks.

- **Housing Material**: This could be a plastic or metal box, sized to fit the fan and filter.
### Step-By-Step Assembly
#### Step 1: Preparing the Housing
The housing provides structural support and ensures all components are neatly contained. Start by marking and cutting out a circular opening on one side of your chosen box, matching the size of the fan. This aperture will allow the fan to draw in fumes effectively.
#### Step 2: Installing the Fan
Position the fan over the circular opening, ensuring that it's oriented to pull air into the box. Secure it with screws and nuts, ensuring it’s tightly fastened to minimize vibrations during operation.
#### Step 3: Installing the Activated Carbon Filter
Directly in front of the fan, place the activated carbon filter. This arrangement ensures that all air drawn in by the fan must pass through the filter, effectively capturing harmful particles and gases. Secure the filter in place, either with a dedicated holder or by using a tight fit in the housing.
#### Step 4: Wiring the Fan and Power Supply
Connect the wires from the fan to the DC jack connector. The red wire typically connects to the positive terminal, while the black wire attaches to the negative. Solder these connections if necessary, ensuring firm contact and mitigating any potential loose connections. Attach the switch in line with one wire to control the power to the fan.
#### Step 5: Adding the Fan Grille and Dust Filter
For additional protection, attach a fan grille and dust filter over the back of the fan. This setup prevents any larger particles from entering the fan mechanism and prolongs the life of both the fan and the filter.
#### Step 6: Final Assembly and Testing
With all components installed, close up the housing. Plug in the 12V power supply, switch on the device, and observe the airflow direction and filter effectiveness. Use a multimeter to ensure all electrical connections are consistent with the expected voltage.
### Optimizing Your Fume Extractor
Once your fume extractor is assembled, consider these additional tips to optimize performance:
- **Filter Replacement**: Regularly replace the activated carbon filter as it becomes saturated with particles and chemicals. A noticeable decrease in airflow can be an indicator.
- **Portability Enhancements**: If you frequently move your workspace, consider adding a handle to your fume extractor housing for easier mobility.
- **Power Alternatives**: Consider incorporating a rechargeable battery pack for greater portability without the need for continuous power supply connections.
### Benefits of Your DIY 12V Solder Fume Extractor
Creating your own fume extractor not only safeguards your health but also provides a sense of fulfillment and autonomy over your workspace. This DIY approach allows for customization, ensuring your device fits your specific needs, whether for a compact workspace or a mobile setup.
Furthermore, crafting this device hones your problem-solving skills and deepens your understanding of basic electronics—a significant boon for any DIY enthusiast. By constructing a tool that aligns perfectly with your workflow, you not only foster a safer work environment but also elevate your DIY capabilities to new heights.
In conclusion, your journey to mastering DIY projects is exemplified by crafting a 12V solder fume extractor. This tool embodies the principles of efficiency, safety, and innovation. As you continue to explore and expand your DIY skills, remember that the ability to create and customize tools empowers you to be both a careful craftsman and an innovative engineer.