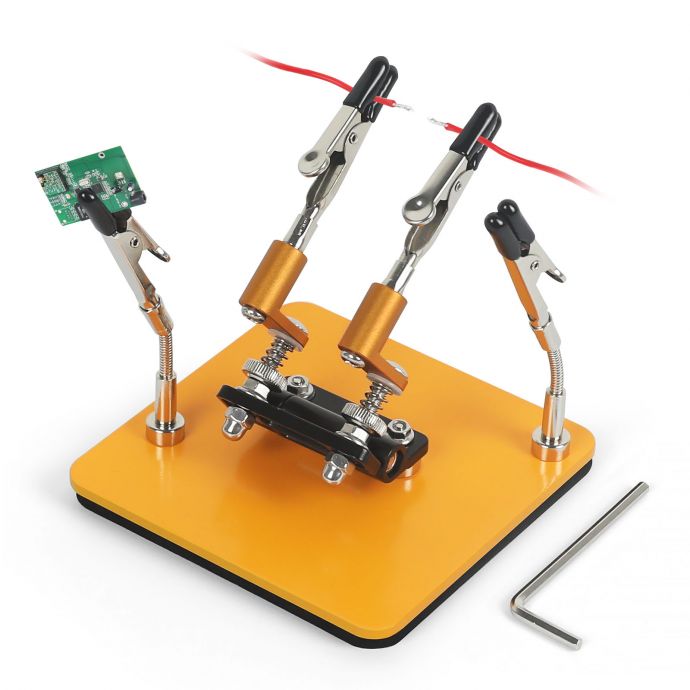
In the realm of electronics and crafting, soldering is a crucial skill that empowers enthusiasts and professionals alike to bring their innovative ideas to life. However, while soldering is indispensable, it also comes with its own set of challenges, chief among them being the fumes that emanate during the process. These fumes can pose significant health risks if inhaled over prolonged periods. That’s where the brilliance of a DIY 12V solder fume extractor comes into play, offering an effective solution for maintaining a clean and safe workspace.
**Understanding the Need for a Solder Fume Extractor**

Solder fumes are a collection of noxious gases and fine particles that are released when the solder is melted. These fumes often contain harmful substances such as lead, flux, and other chemicals, which, when inhaled, can lead to respiratory issues, irritation of the eyes and throat, and even long-term health concerns. For hobbyists and professionals who spend extended periods soldering, a fume extractor becomes an essential tool.
While there are commercially available fume extractors in the market, creating your own DIY version using a 12V fan not only saves money but also allows customization suited to your specific workspace and needs.
**Components Required for Your DIY Fume Extractor**

Creating a DIY solder fume extractor is a straightforward process that requires a few key components. Here’s a list of what you’ll need:
1. **12V DC Fan**: This is the core component of your fume extractor. The fan should ideally be a brushless fan, known for its efficiency and longevity. Look for one with a high CFM (cubic feet per minute) rating, as this indicates its air-moving capability.
2. **Activated Carbon Filter**: This filter will trap the harmful particles and gases. You can use a replacement filter for a commercial fume extractor or cut one to size from a larger sheet.

3. **Power Supply**: A 12V DC power adapter will be necessary to power the fan. You can repurpose an old power adapter, ensuring it matches the fan's voltage and current requirements.
4. **Fan Grill and Housing**: This is to protect the fan blades and keep fingers safe. You can upcycle materials such as plastic containers or metal boxes to create a housing unit.
5. **Wiring and Connector**: For connecting the fan to the power adapter, you’ll need basic wiring components.

6. **Soldering Iron and Solder**: Tools needed for completing connections, fitting perfectly with the theme of your project.
**Step-by-Step Guide to Building Your Fume Extractor**
**1. Prepare the Housing**

- Select a suitable container or box that is large enough to house the fan and filter. Drill or cut out a circular opening for the fan based on its dimensions.
- Ensure there's a snug fit for the fan to avoid air leakage and maintain efficient performance.
**2. Attach the Fan and Filter**

- Mount your 12V fan inside the housing, using screws or a strong adhesive. Ensure that the fan's airflow direction is set to pull air through the filter.
- Position the activated carbon filter in front of the fan on the intake side. If necessary, use an additional grill to hold the filter securely.
**3. Wiring the Fan**
- Connect the fan to the 12V power adapter using appropriate connectors. If the fan includes a connector, find a compatible adapter, or alternatively, strip the wires and connect them directly.

- Solder the connections to ensure they are secure, adding heat-shrink tubing or electrical tape to insulate exposed wires.
**4. Test and Finalize**
- Before sealing the housing, test your fume extractor by plugging it in. Ensure the fan is operational, and check that air is being effectively drawn through the filter.
- Once satisfied, close the housing, using screws or clips that allow easy access for future filter changes.
**Optimizing Your DIY Fume Extractor**
To maximize the efficiency and longevity of your DIY fume extractor, consider the following tips:
- **Regular Filter Replacement**: The effectiveness of your fume extractor largely depends on the condition of the activated carbon filter. Regularly check and replace the filter as needed, based on usage.
- **Air Quality Monitoring**: You can invest in a small, inexpensive air quality sensor to periodically check the air quality in your workspace, ensuring your extractor is performing as expected.
- **Additional Features**: Enhance your setup by adding features like a flexible arm to direct the extractor closer to the work area, or adjustable fan speed control for varying soldering intensities.
**The Benefits of a DIY 12V Solder Fume Extractor**
Investing the time and effort into creating a DIY fume extractor yields numerous benefits:
- **Cost Efficiency**: Building your own extractor can be considerably cheaper than purchasing a commercial equivalent, often costing less than half the price.
- **Customization**: DIY allows for personalization—adjust the size, style, and additional features to align with your specific requirements and workspace constraints.
- **Sustainability**: By using recycled or upcycled materials, your DIY project contributes to environmental sustainability.
- **Skill Development**: The process of building the extractor enhances your technical and troubleshooting skills, valuable for anyone passionate about DIY electronics.
In conclusion, a DIY 12V solder fume extractor is a practical, cost-effective solution for enhancing the safety and cleanliness of your soldering environment. By constructing your own device, you not only gain a vital tool but also empower yourself through skill-building and creativity. Happy soldering, and breathe easy knowing you have a well-constructed fume extractor by your side.


